eInvoice
The eInvoice feature provides merchants with the ability to create and send links to request payments from customers. The merchant pre-configures a payment providing the basic details and the elements that should appear on the customer's notification, identifies the customer and then the merchant can send an e-mail using the SelfCare System (or manually using another system).
The Merchant needs to have a terminal configured to work with Hosted Payment Pages. Only terminals with this configuration enabled will allow the use of the eInvoice feature.
Search and Manage Invoice Payment Requests
Each payment link generated can be found using the filter in the search. Among those filters optios, you can use:
Merchant Ref
Customer Name
Customer E-mail
Status
- Open - still not paid successfully
- Complete - successfully paid (or with a pending capture)
- Cancelled - cancelled by the merchant before payment or expiration
- Expired - passed the expiration date (automatically changes to expired)
Amount
Creation Date
Expiration Date
All of those options allow the user to choose among different comparators (ranges for quantities, values and dates, or matching types fo rnames and identifiers). Explore the filters and create your own searches. You can save your searches using the SAVE option, on the left side below the filters.
Once your filters are as you need, just select the SEARCH option and the result is going to be paginates to your right below the search.

On the resulting list you see a few fields which are useful to identify the payment link.
- Merchant Ref
- Customer
- Creation Date
- Expiration Date
- Auth Type
- Status
- Amount

If you want more details or perform a different action over an existing payment link, at the far right column of the search result you can find the ACTIONS list for each paymnet link. Depending on the status of the payment link, different actions are possible.
- View: Allows the user to check details but not change them. Achieved by clicking on the ACTION column and selecting the VIEW option for a specific payment link or by clicking on the MERCHANT REF (table link) of the same payment link. Applicable for COMPLETE, CANCELLED, and EXPIRED paymnent links.
- Edit: Allows the user to check and edit details. Achieved by clicking on the ACTION column and choosing the EDIT option for a specific payment link or by clicking on teh MERCHANT REF (table link) of the same payment link. Applicable only for OPEN payment links.
- Cancel: Allows the user to cancel. In the ACTION column, choose the CANCEL option for a specific payment link. Applicable only for OPEN payment links.
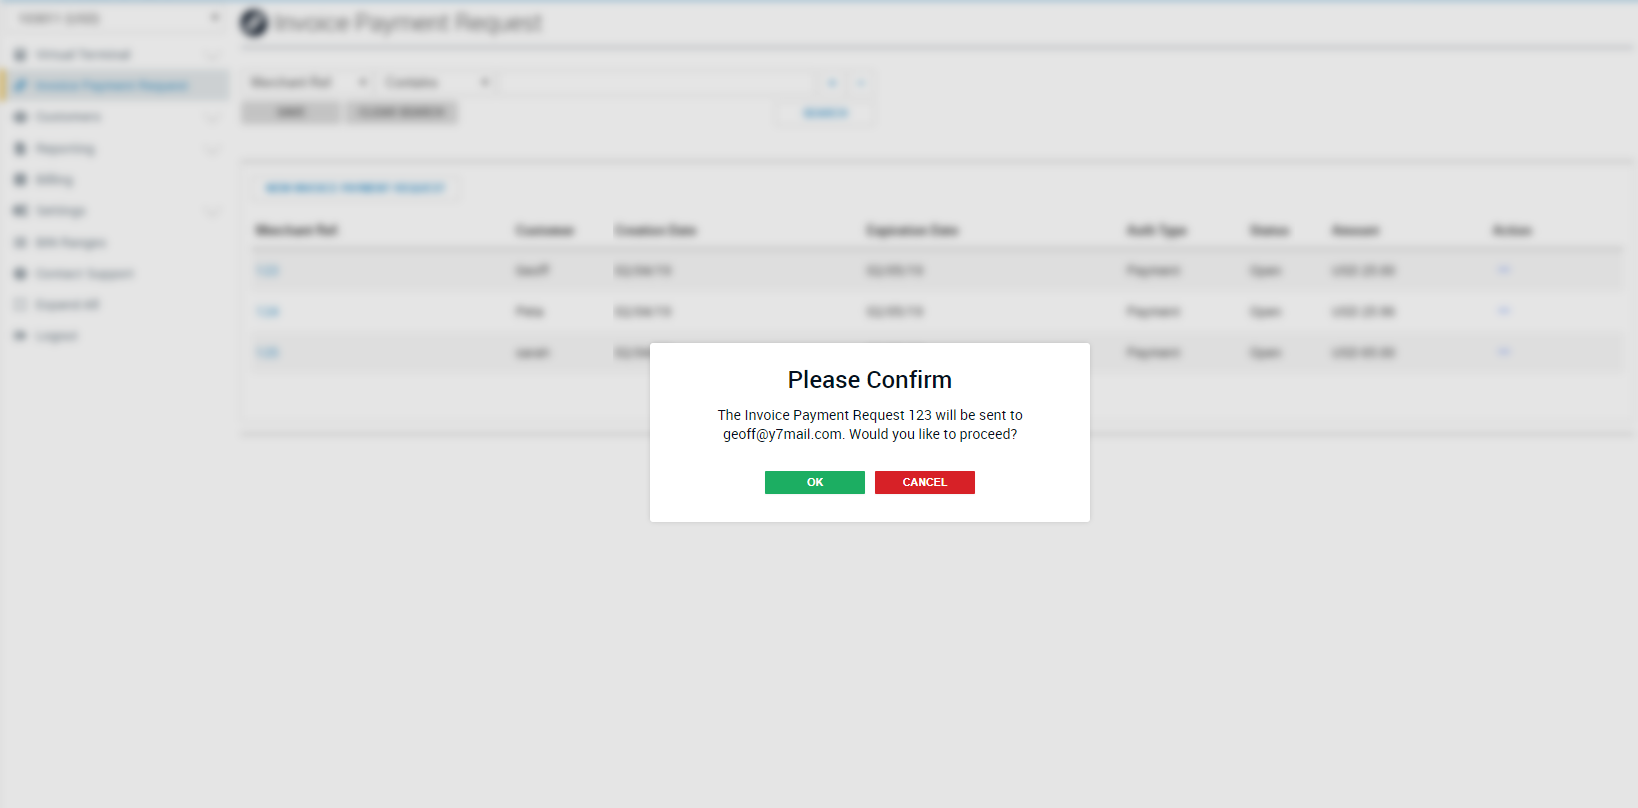
- Send: Allows the user to send (or resend). In the ACTION column, choose the SEND option for a specific payment link. Applicable only for OPEN payment links.
- Copy: Allow the user to create a new payment link from an existing one. In the ACTION column, choose COPY. Applicable for all statuses. It only opens a form copying most of the data of the selected payment link, so you can more easily create a new one from it.
- Email Preview: Allows the user to see how the e-mail sent by the platform is going to look like in the customer's email. In the ACTION column, choose the EMAIL PREVIEW. Applicable for all statuses.
Create an Invoice Payment Request
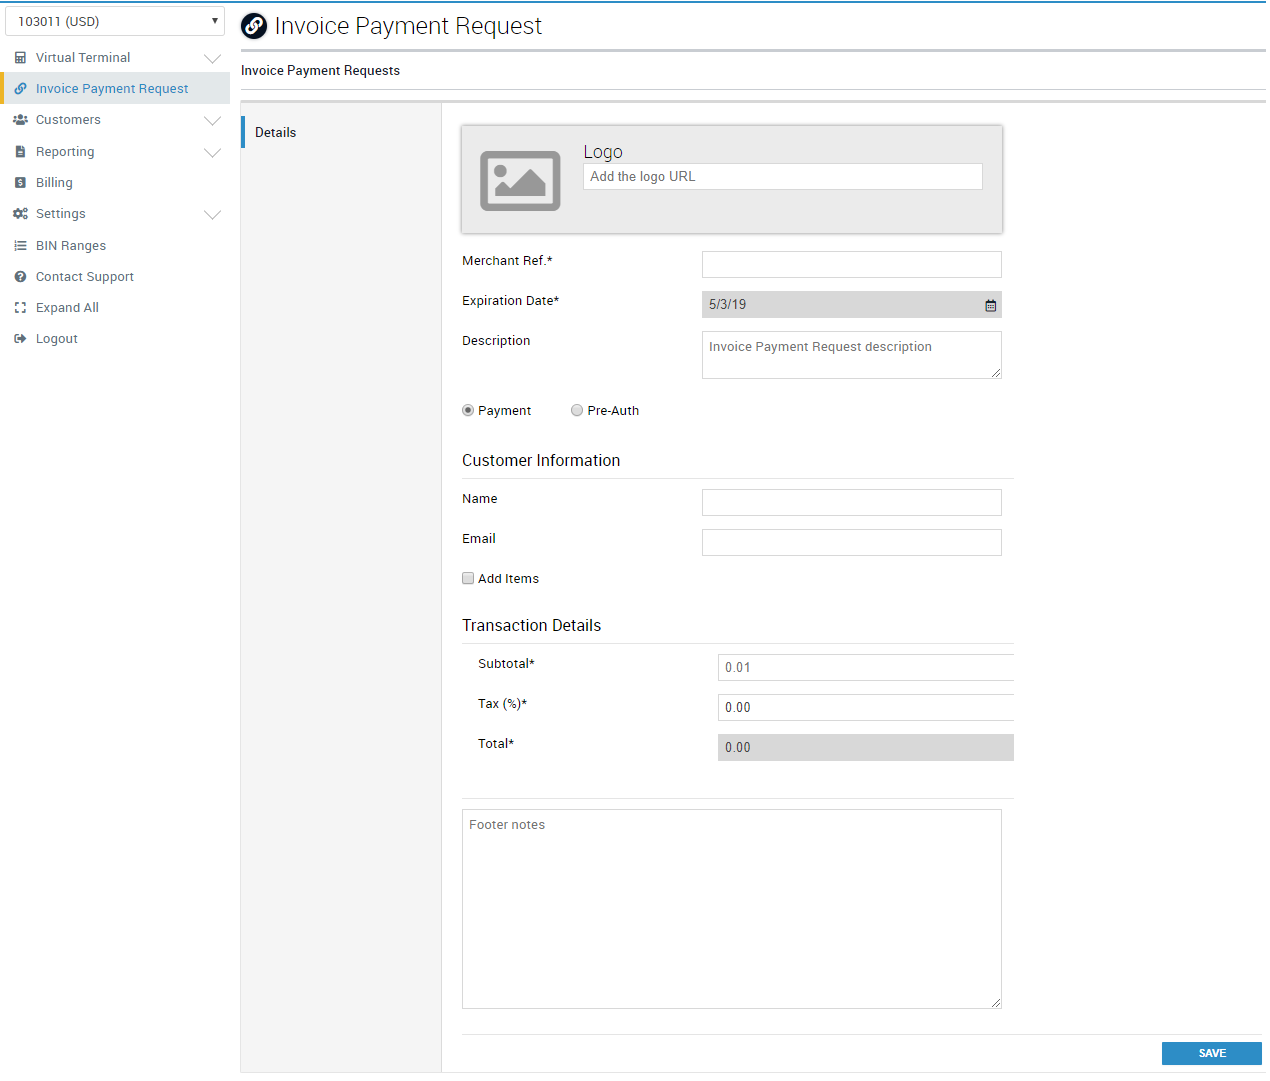
To create a new payment link, you only need to provide a few details.

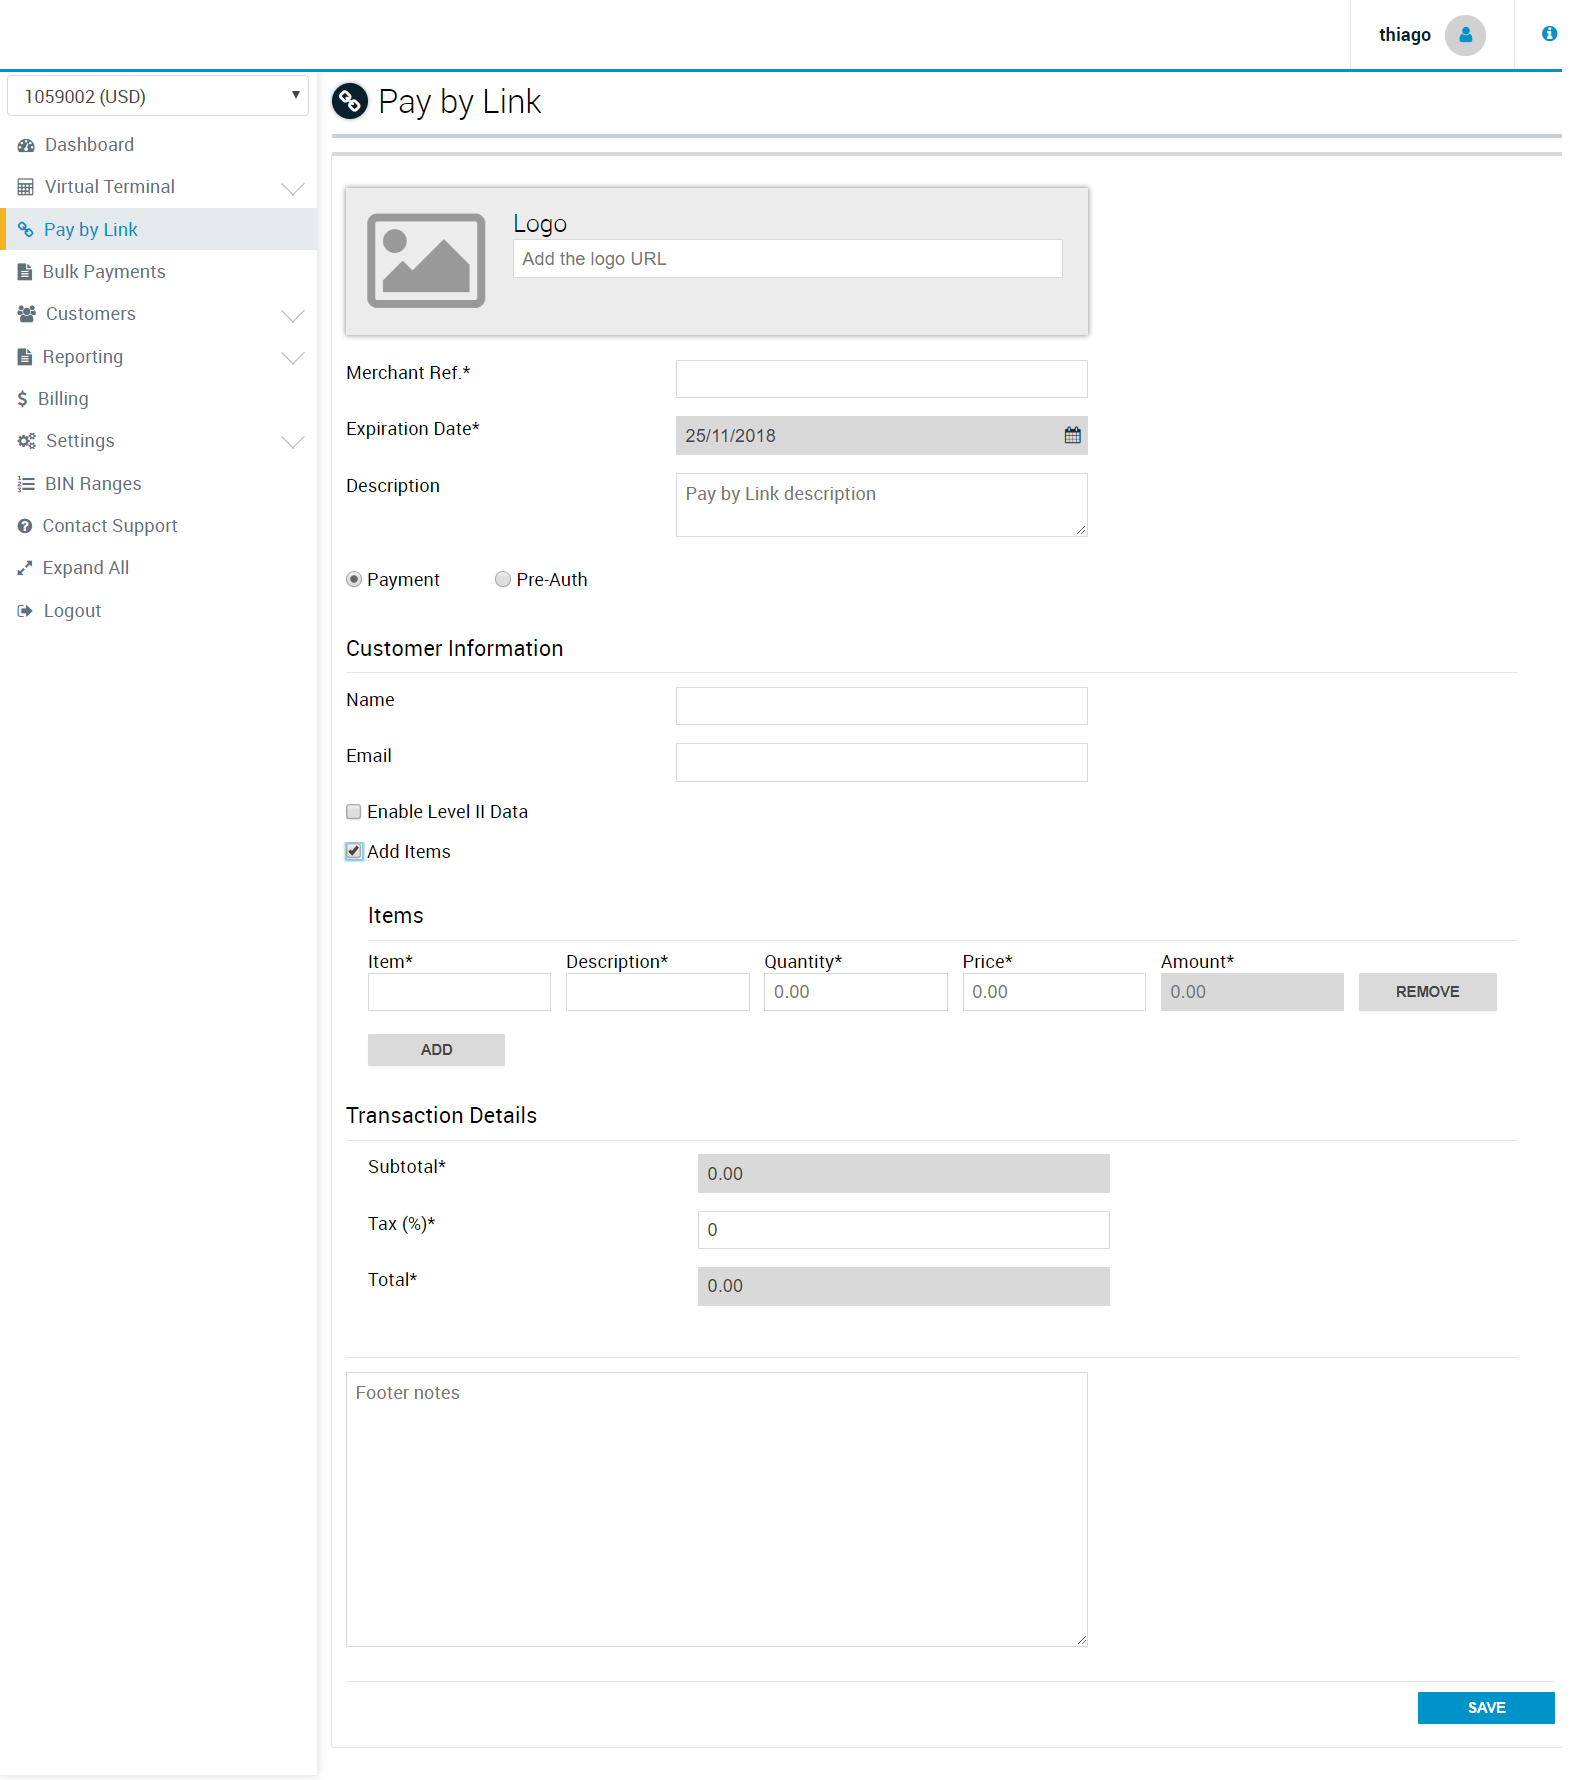
Depending on your needs, you might want to break down the payment in items.

Also, if your terminal does allow the use of enhanced data, you might need to provide more information.
The enhanced data option is only going to be presented in your screen if your terminal does allow that feature. If you are not sure about this or want to know more about the benefits of using enhanced data in your payments, contact our support team.
About the fields:
- Logo: Field to provide any logo the Merchant desires to used on a invoice payment request e-mail.
- - Styling: <img src=“{LOGOURL}” border=“0” style=“max-width: 200px; max-height: 70px”>
- - Size: Max height: 70 px Max width: 200px
- - Highly Recommend: use a vector image to preserve scaling and resolution when resized.
- - If the logo needs to be resized: maintain the aspect ratio to avoid the logo looking 'squished' or drawn out.
- - If the logo is larger than the max dimensions, the system will resize it. This is why we recommend a vector image.
- Currency: Currency in which the transaction will be processed (limited to the terminal's currencies). It is only going to be requested if the terminal has more than one currency enabled.
- Merchant Ref: Merchant reference used by the merchant to identify its payment links in its way.
- Expiration Date: Date in which the payment link ceases to be valid.
- Description: Description of the payment link. Useful when the merchant needs to provide context beyond the items in the payment link.
- Customer Information
- - Name: Name of the customer to which the payment link is addressed.
- - Email: Customer's E-mail (where the payment link should be sent).
- Enable Level II Data: This option is going to appear only for terminals with enhanced data enabled (level II and level III). It is going to allow the user to define level II data for a customer. The shipping address details, if provided, will be editable at the Hosted Payment Page, so the customer can change, but the tax information is mandatory.
- - Use tax for level II data: This field indicates the transaction is not exempt from tax and that the merchant wants to define a value, even if it's “0”.
- - Add shipping address: enables the fields to provide details on the shipping address to be used at level II. It is going to be editable by the customer when in the Hosted Payment Page.
- Add Items: This option allows the user to define if it is necessary to add a list of items to the payment link or if not.
- Items - In this list you can ADD or REMOVE items. This option is available after the user marks Add Items.
- - Item: Identification.
- - Description: Short description or name.
- - Quantity: Quantity of items.
- - Price: Unitary price by item.
- - Amount: Quantity x Price.
- Transaction Details
- - Subtotal: SUM of all Items (Quantity x Price).
- - Tax(%): Additional taxes the merchant might want or need to apply to a transaction.
- - Total: Subtotal + (Subtotal*Tax)
- Footer Notes: This area serves the purpose of additional descriptions, information or disclaimers.
Send an Existing Invoice Payment Request
Once created, a payment link can be sent to a customer until it is completed, cancelled, or expires. The user has two options to send the link to the customer.
While creating the link (after saving as details)

After the link is created, at any given time (even after editing the details or changing the customer), as long as the link is not COMPLETE, EXPIRED, OR CANCELLED.

Understanding the fields:
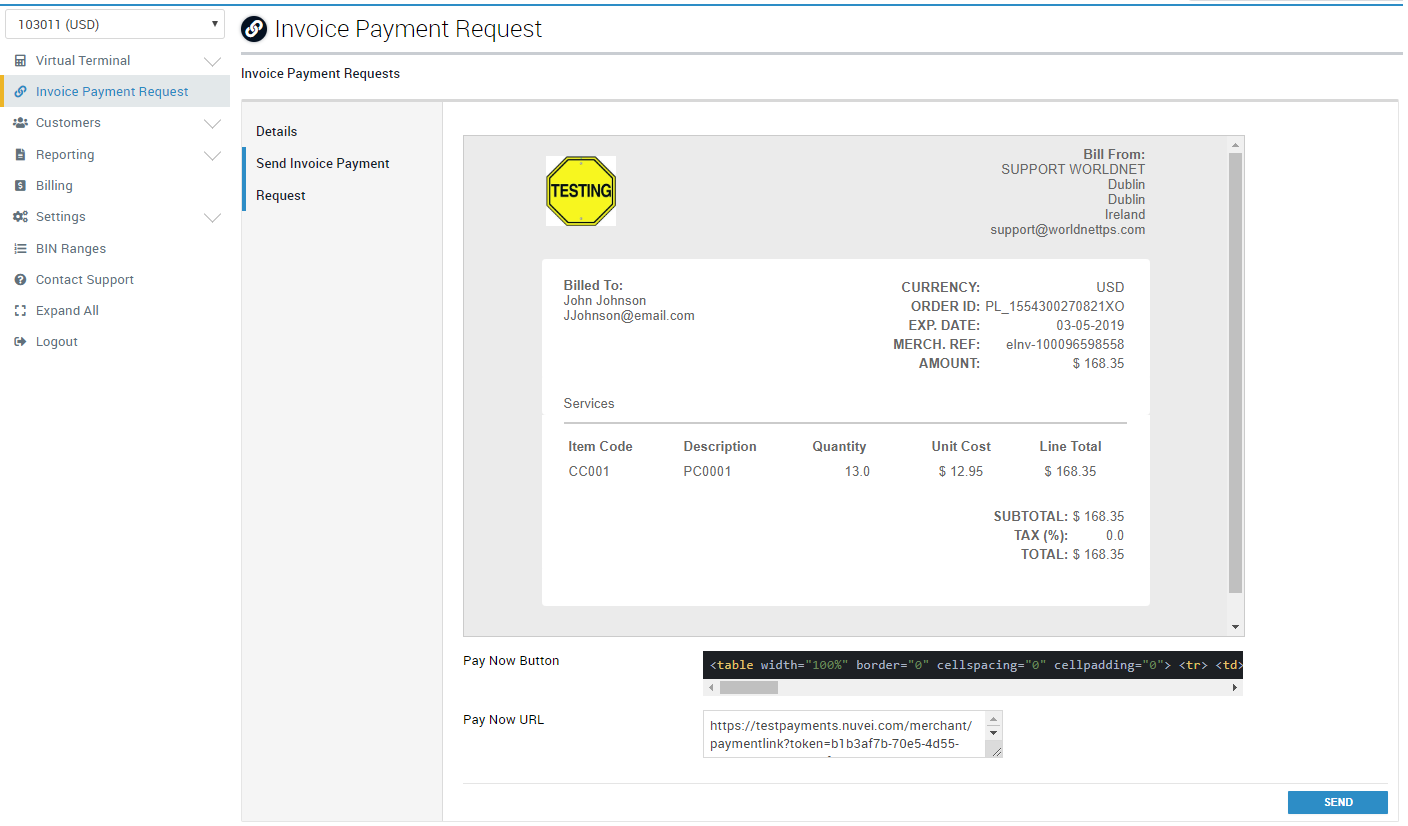
- E-mail Preview: Represents the body built during the Invoice Payment Request creation and how it is going to look like in the customer's e-mail box when opened.
- Pay Now Button: A fragment of HTML code already configured to redirect the customer to the merchant's hosted payment page.
- Pay Now URL: Also configured to redirect the customer to the merchant's hosted payment page, but just the URL, without the styling to look like a button.
If the user desires, the Pay Now Button is a functional fragment of HTML which can be used in any e-mail body to generate a button to redirect to the final payment page for the customer. Also, the Pay Now URL can be used in the same situation.